
DIY Photography Lighting Using Household Lamps
So you’ve decided to step up your content game, and what better way to do it than with stop motion? If you’ve delved deeper into the world of stop motion using our app, Life Lapse, then you’ve probably seen that we recommend having an artificial lighting set up: while natural light is great, when you compile it into a stop motion animation, it creates flickering 💡.
Lighting is one our most asked questions from our users because when it comes to stop motion, lighting is key. We know that not everyone has the budget or space for professional lighting equipment: especially if you’re just starting out and plus, as a mobile app built to make it more accessible to create stop motion videos, we’re big believers on finding items that are easy to set up and affordable. Our favorite hack for DIY lighting: using what you have around the house! Lighting can be achieved through lamps: whether it’s your ceiling lamps, floor lamps, or any other sort of desk lighting you can find scattered around. The examples below are all shot with our iPhone 11.
Household Lamp Hacks
If your lighting is from above:
Here are our tips on how to use a ceiling lamp or track lights in your home as your DIY photography lights:


Make sure to step back in between each photo so that the light hits your objects directly, rather than casting your shadow. We recommend a bluetooth remote to make this easier, but you can also use our interval timer option to step away
Don’t place your camera directly below where the ceiling light is, so that it doesn’t block the direction of light as it shines on your props
There is a huge difference between a light source that is nearby and one that is far away. Test both options to see whether you prefer a sharp shadow line (nearby, direct light) or a softer shadow (diffused, distant light). For a direct light source, point your lamp or light directly on your objects. For a diffused light, you can bounce the light off of a surface, by pointing your lamp towards the ceiling. This will diminish harsh shadows
Be sure to block out any natural light by closing your blinds so it doesn’t impact your lighting. Even small changes in lighting can make a big impact on your video as the clips are played at such a high speed
If you are using a table lamp or any light source that is not directly above your props:


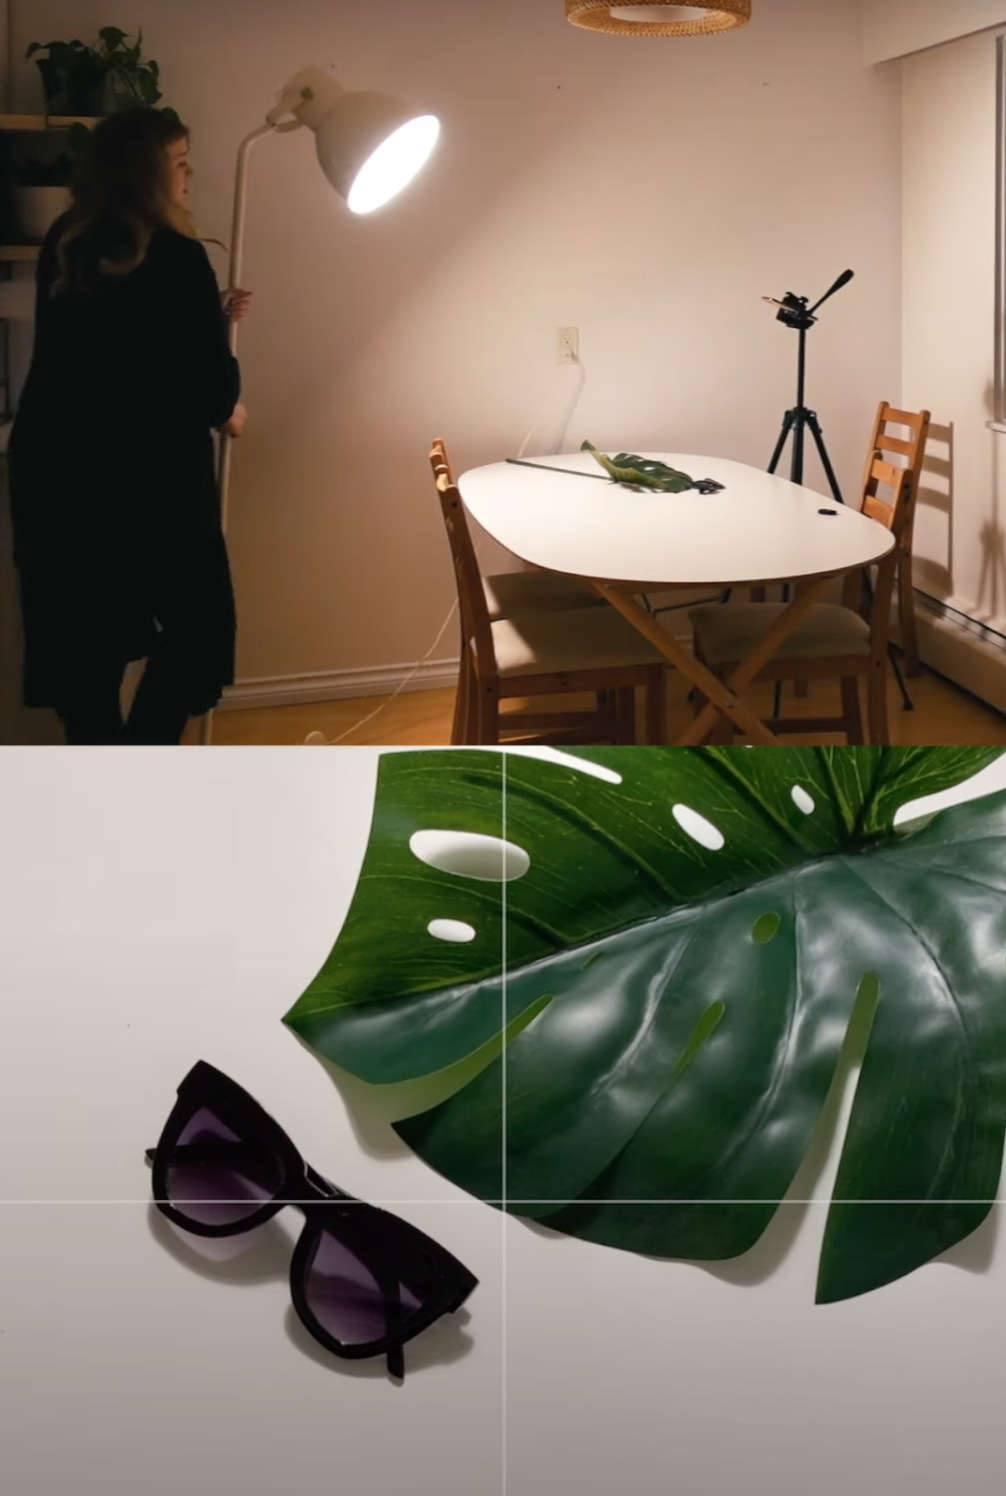
We have this Ikea floor lamp that is super powerful and if it was more portable, we would prefer to use this one all the time! Here are our tips when you’re using a floor or table lamp as a DIY photography light:
Make sure you are not standing in front of the light or putting your tripod in front of it, otherwise you can get a shadow from the tripod if your light is behind it, casting a shadow on your scene
Play around with how close or far your lamp is to your objects so you can see how the shadows impact your photo. Take a look at the sunglasses in the images below and you can see the difference when your lamp is further away vs closer to the object

For any light hotspot like in this example using our Ikea table lamp. This is from where the shade ends vs the direct light coming from straight from the bulb so a great solution for DIY lighting issues is to remove the lampshade (be careful that your lightbulb isn’t burning hot!), diffusing the light more evenly, imitating a professional photography lighting kit
I personally like to keep my lighting on the opposite side of my tripod and I can shoot from the tripod side so it minimizes the shadow lines that indicate where your light source is sitting. The closer you are able to bring your light source to the scene, the smaller and less noticeable the shadows will be. It also allows me to shoot from a place where it won’t cast my own shadow onto the scene
How to achieve ambient lighting
You can achieve ambient lighting even when using this DIY photography light hack with a floor or table lamp that can be adjusted. Ambient light in photography refers to light that the photographer did not add to the image, it looks natural whereas when you’re using a photography light pointing at the object, you can tell that the light was added.
Pointing your light directly on the object will cause shadows. Instead, point your light towards the ceiling and you can diminish those harsh shadows
Editing is just as important as shooting and you can always brighten it afterwards!

Now let’s see how each image turned out with these DIY photography light hacks and these were all shot on our iPhone 11! We did a bit of editing to the images within Life Lapse, mostly adjusting the brightness, warmth, saturation and contrast.

We hoped you enjoy this photography hack! While we focused the tips around how to light your scene when creating stop motions, you can use these tips for photography and videography as well. This is part of our Lighting, Backdrop and Tripod series and if you want to learn more tips, visit our YouTube channel for more!
